How To Create a Website For Free With Plegmahost Web Site Builder
Getting Start A Simple Website with Responsive Template
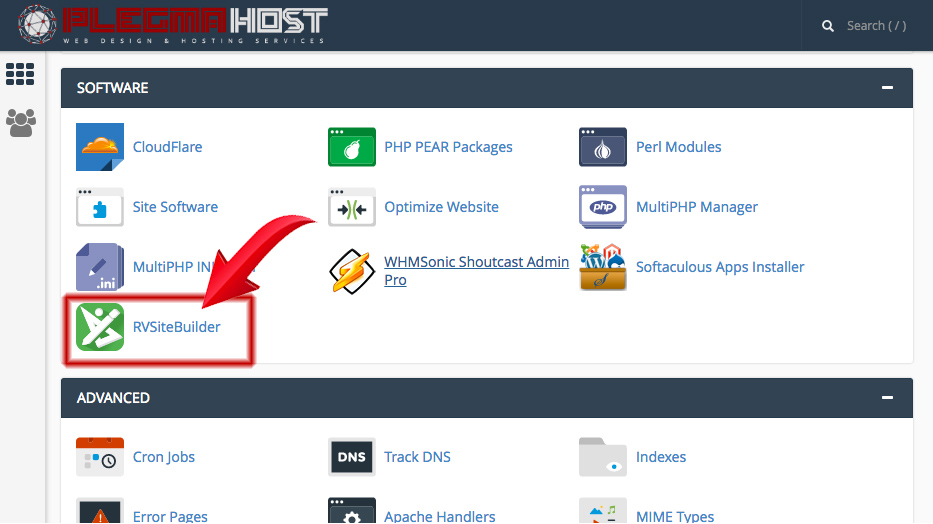
After login to your web hosting control panel (webiste.com/cpanel), find “RVSiteBuilder” under Software feature group.
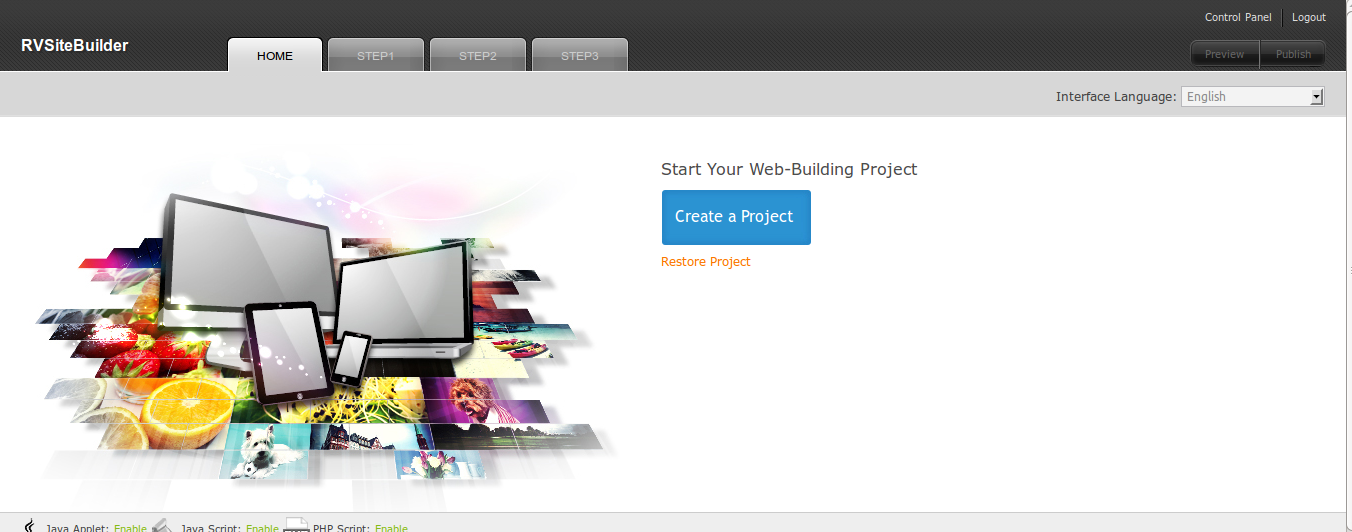
For a fresh and first time, the User Interface (UI) is the following.
Simply click “Create a Project”.
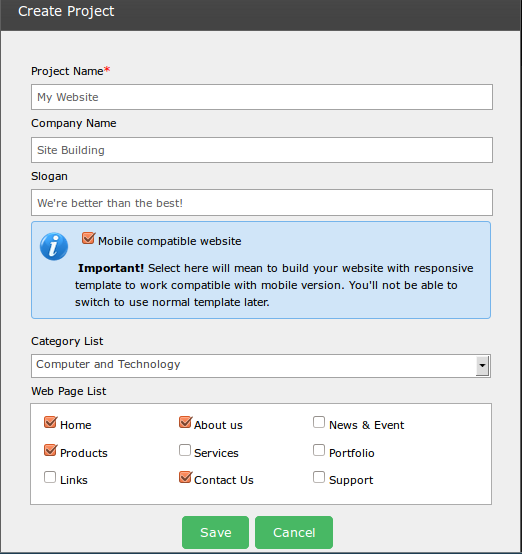
The Create Project window will appear to let you insert the primary information: Project Name, Company Name, Slogan, etc.
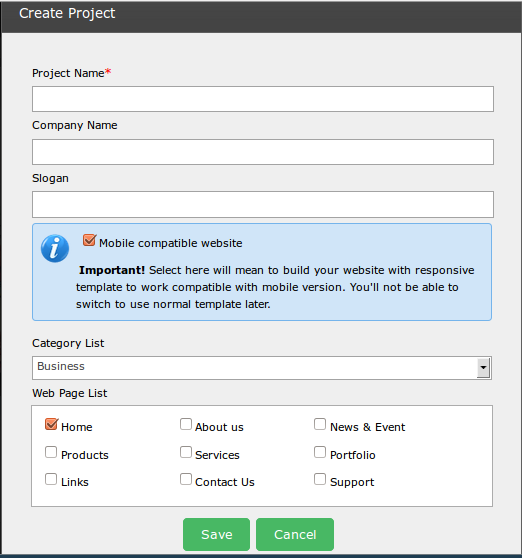
Note: If you check “Mobile Compatible Website”, you’re going to build your website with “Mobile Compatible Template” (Responsive Template). The system will not allow you switch to use normal template later.
#Difference between responsive and normal template.
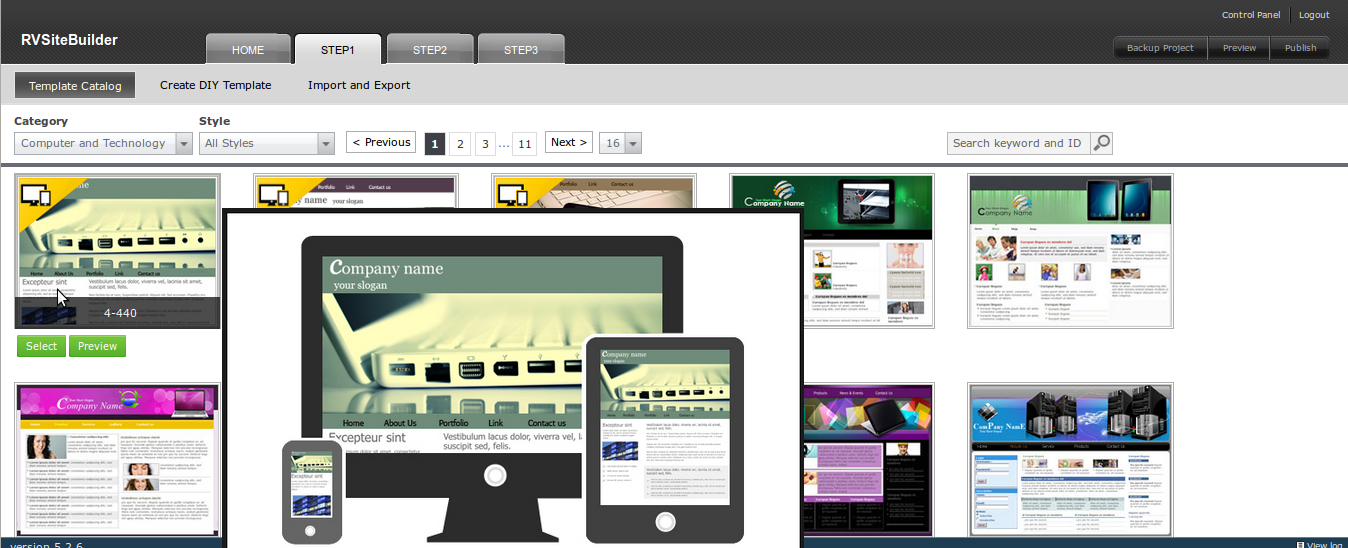
Once finished naming your own project from Home step, RVSitebuilder will lead you to Step 1.
The step which is standing for Template Select. It first gives you a current template, you can change to others as want.
After finished selecting responsive template from Step 1 , RVSitebuilder once again leads you to Step 2, Website Design area.
The place to let you customise your own website header banner, background, Company Name, Slogan, Logo, Mobile Display enforcement, etc.
You can fully play and design your website here.
Let’s start!
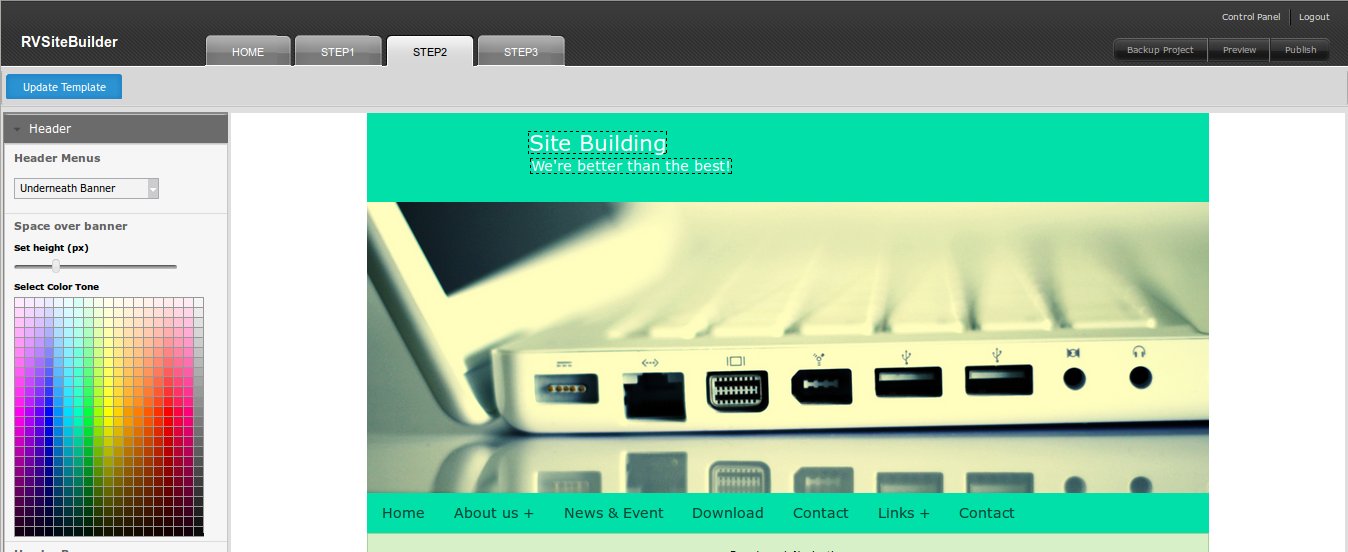
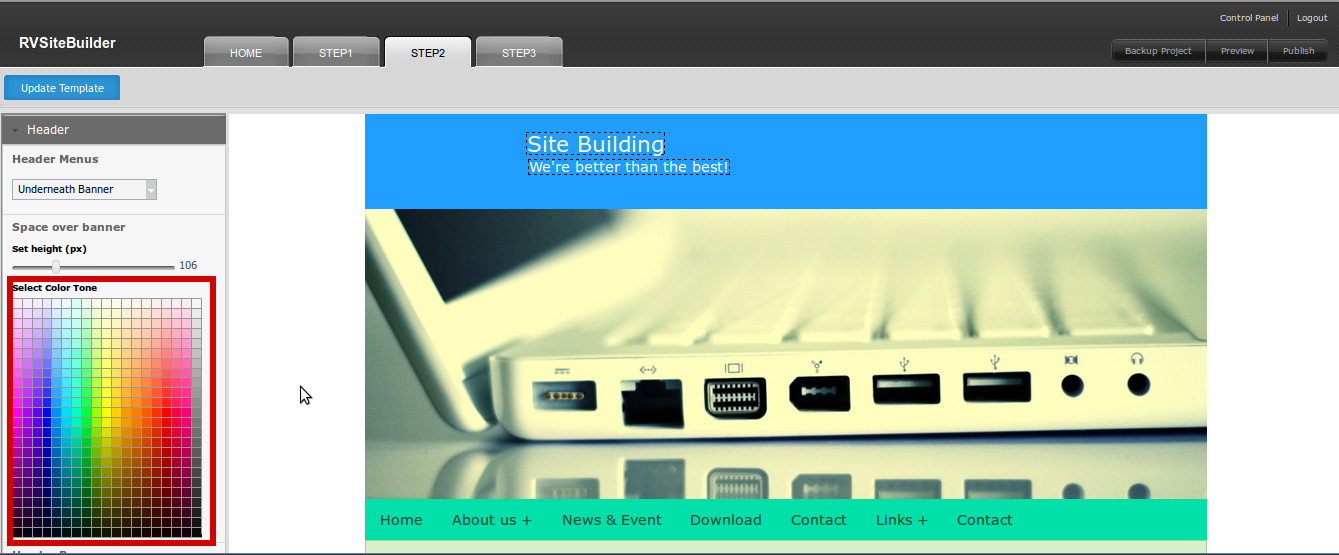
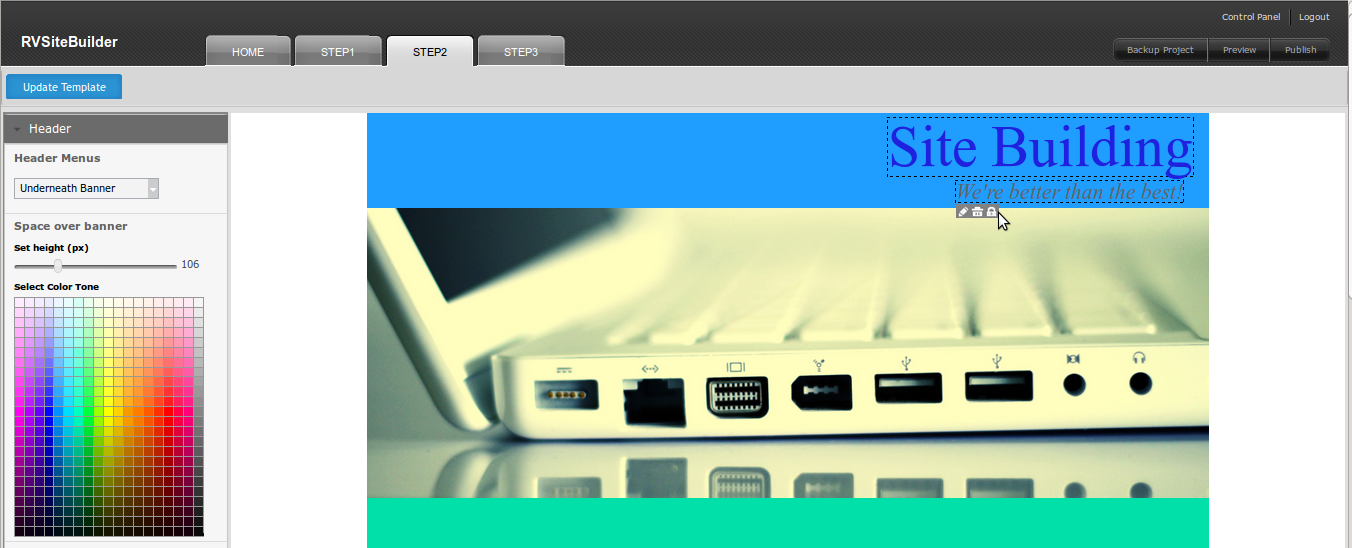
Header color, you can choose a color from the color picker at the left hand to fancy your header.
Your Own Header Banner
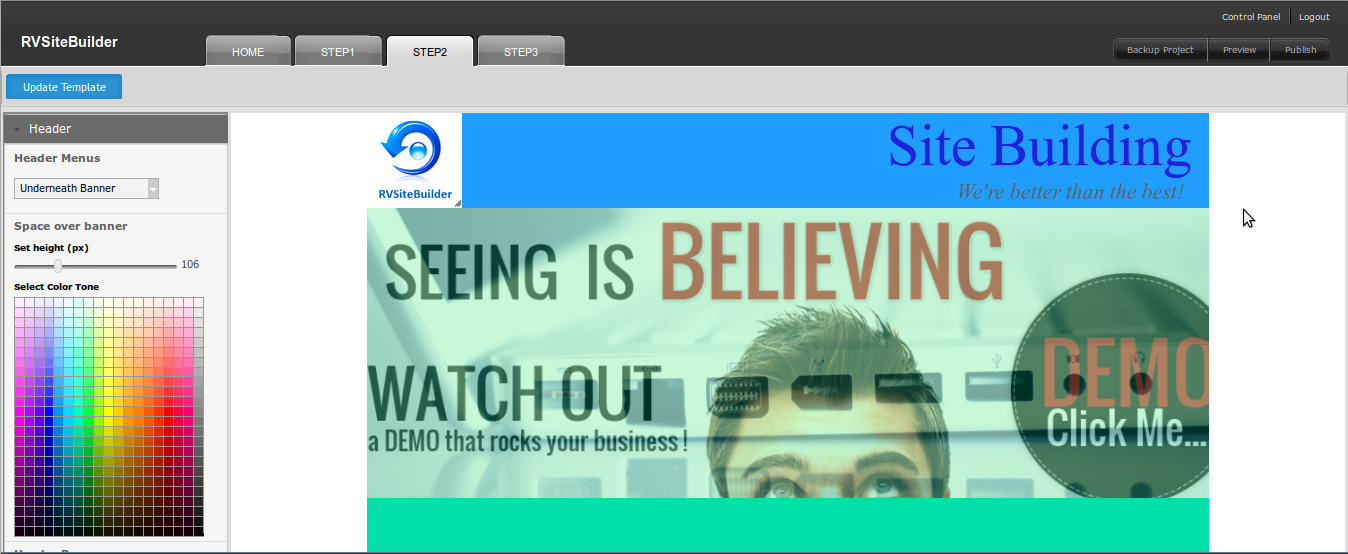
Every template will have a current header banner image itself, but you can remove the current, add your own, make banner slide show.
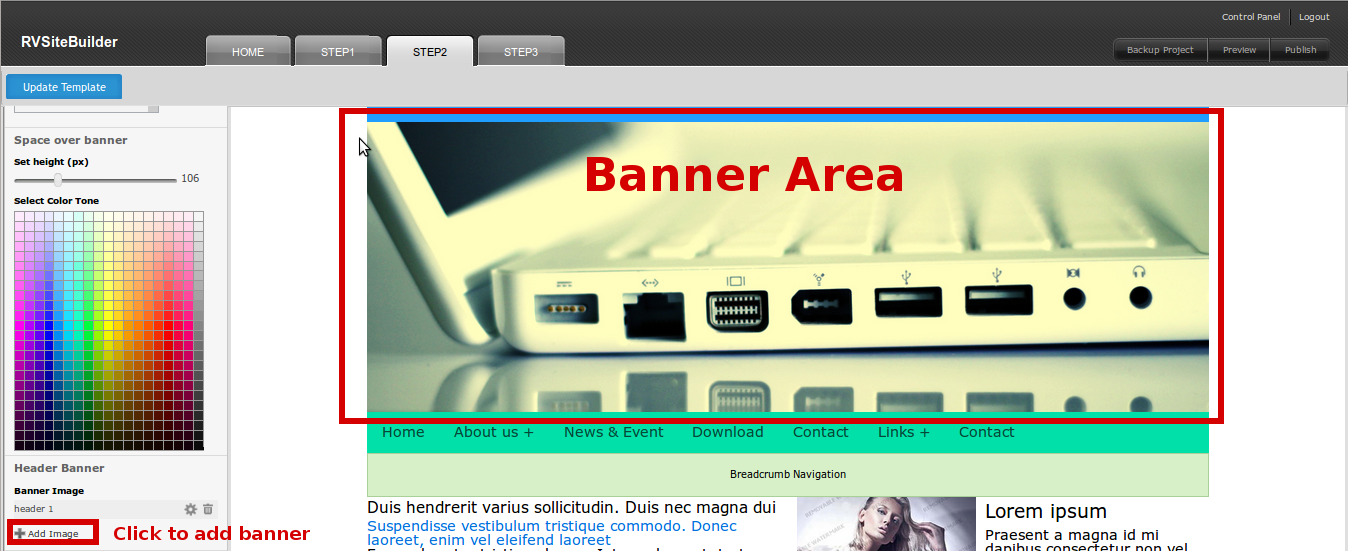
Simply click “Add Image”, the upload window will promptly appears to add your own banner image.
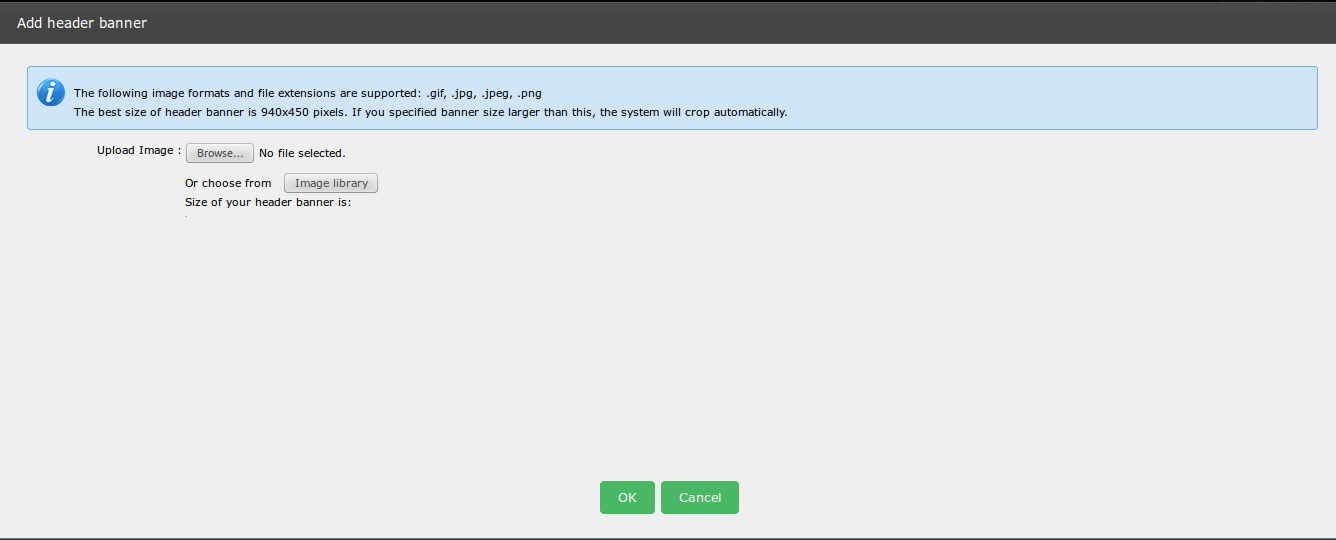
“Browse” your own image from computer or choose one from the “Image Library”, and use drag-and-drop tool to crop the size as you want.

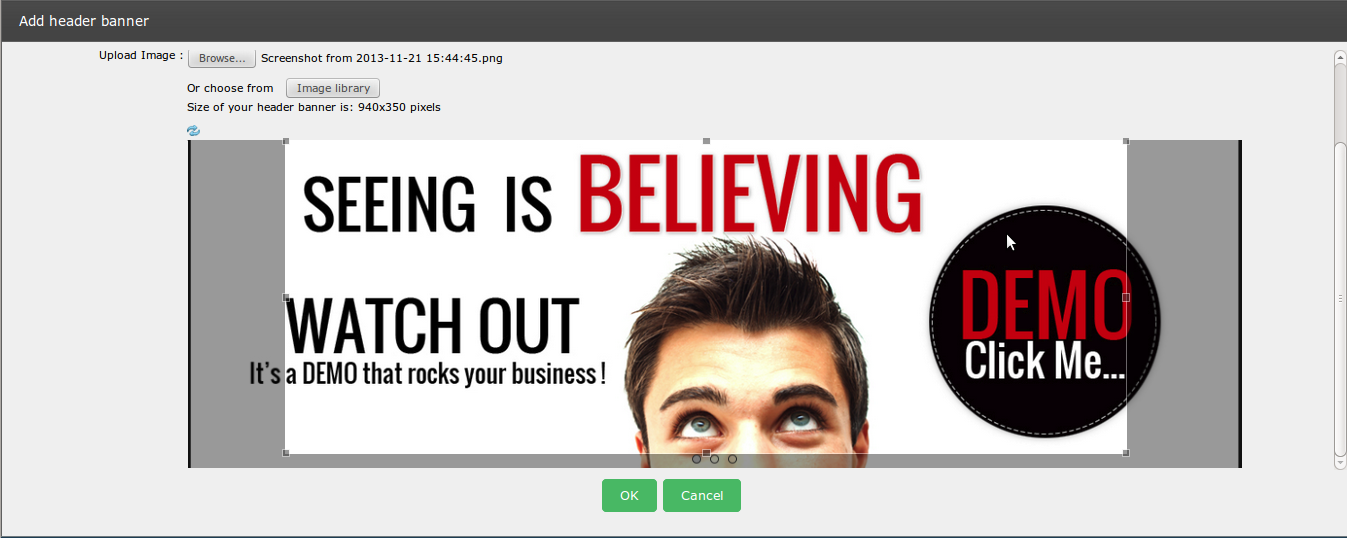
Got it!
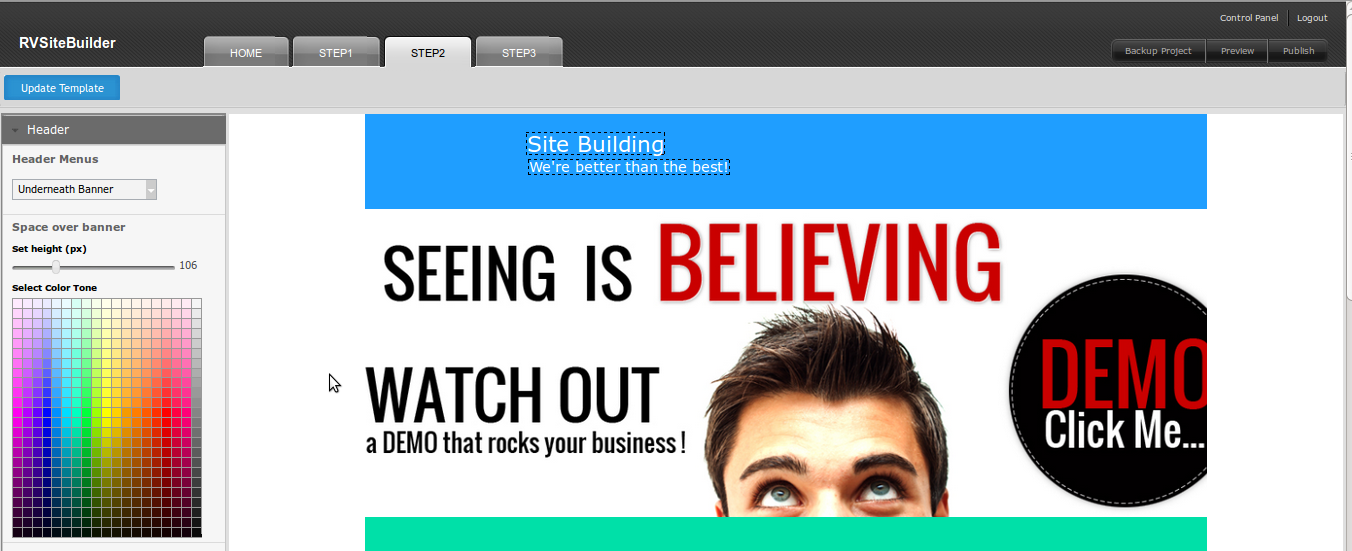
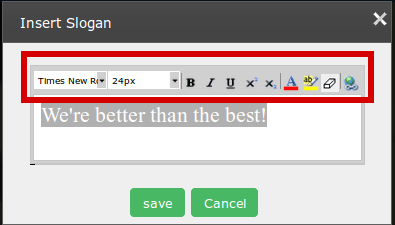
Put design to your Company Name and Slogan
Just “Mouse Hover” on the text and click “Pencil” symbol to open the text editor.
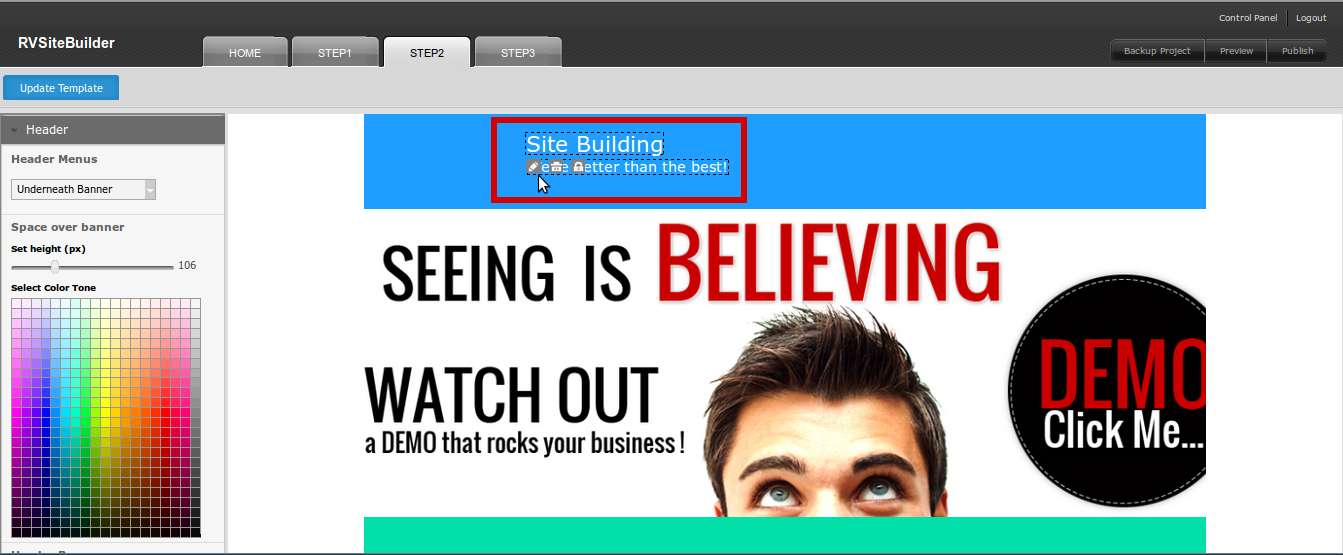
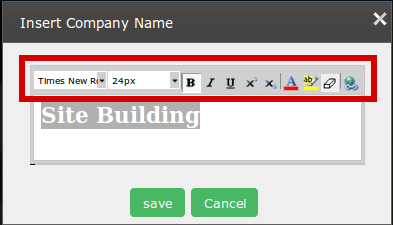
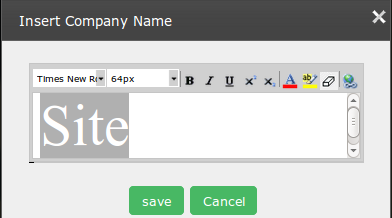
Use text editor tools to customise your company name as you want.
Tip: Some browsers may use cache system which causes choosing “Font Style” and “Font Size” don’t take respond. You can get avoid this by choosing “Default” before “Font Style” and “Font Size” you really want. :p
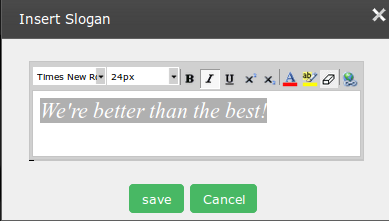
Do the same above for your slogan.
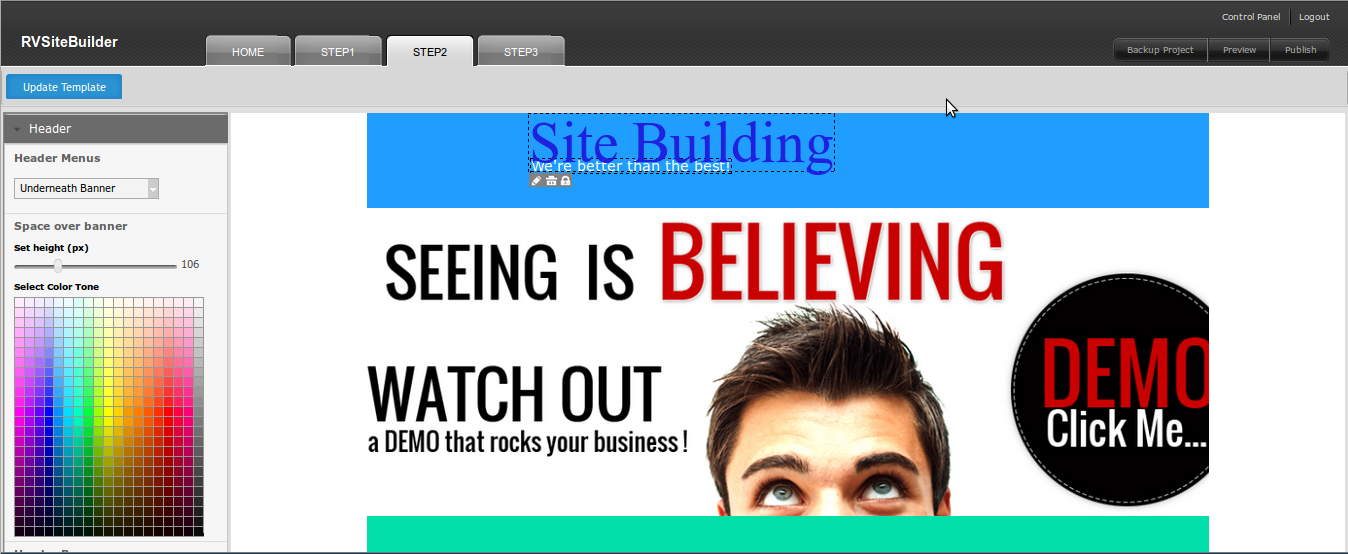
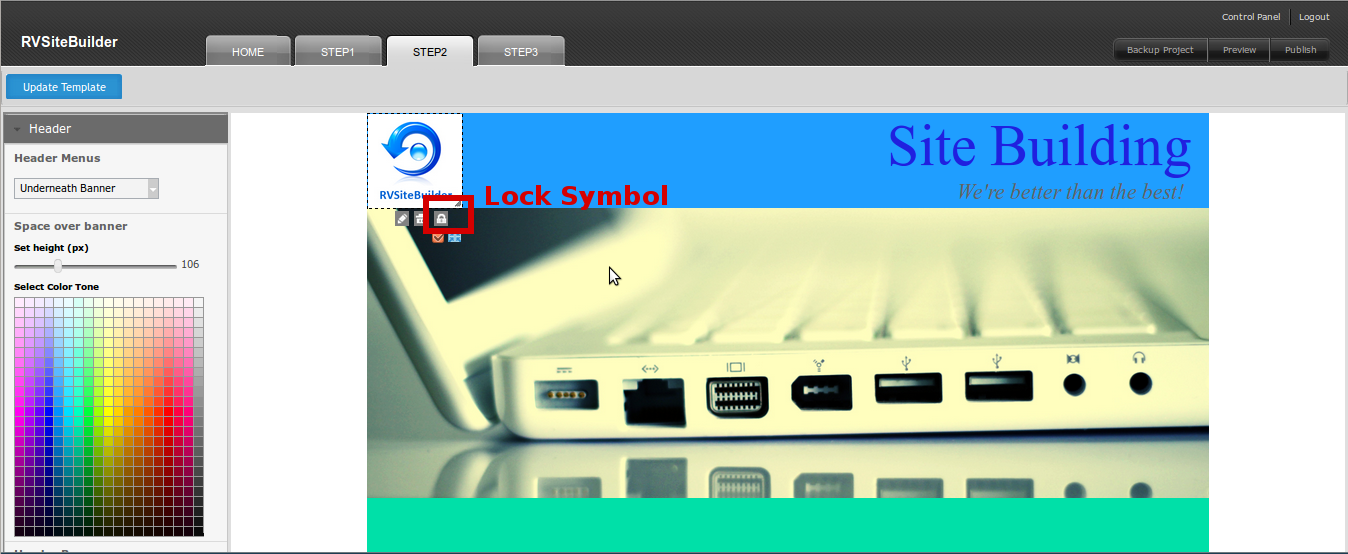
Now, reposition the Company Name and Slogan. Easy by drag-and-drop it at the position you want in header. Don’t forget to lock its position by using “Lock” symbol.
Upload website and company logo
At “Branding” feature menu, click “Logo”.
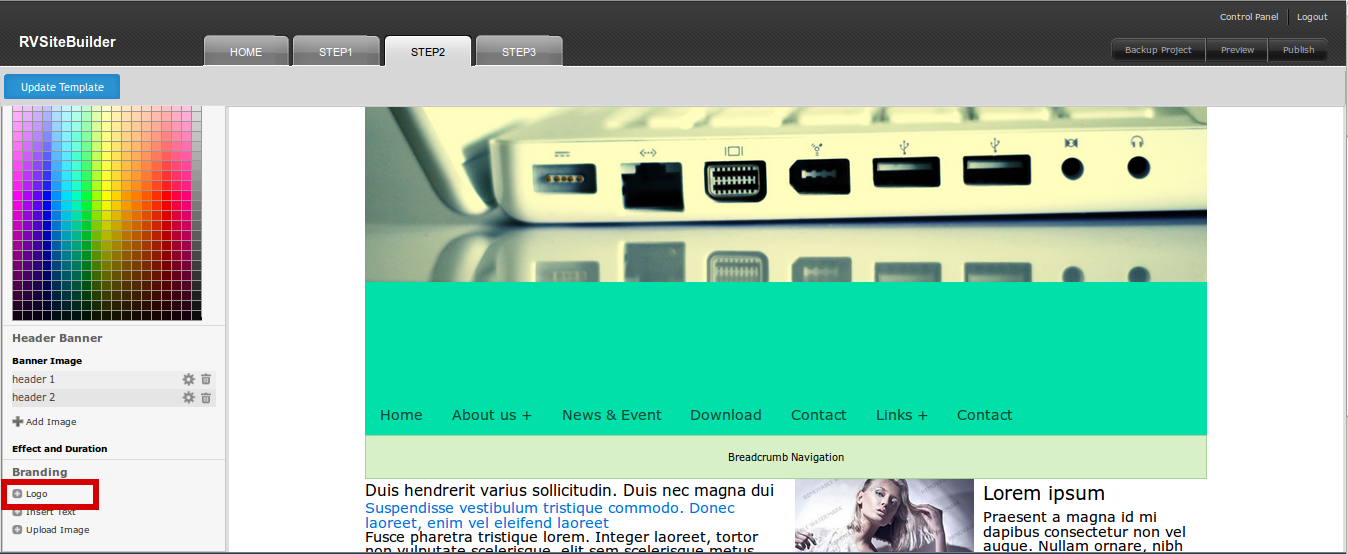
“Browse” a logo image from your computer and resize it. (You can even resize logo in Step 2 interface later)
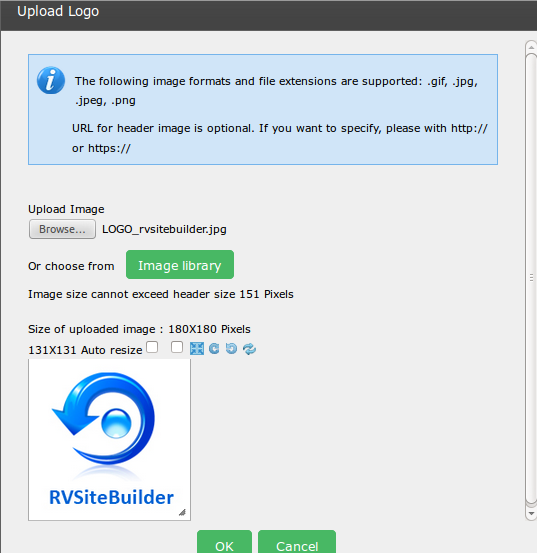
Here you go!
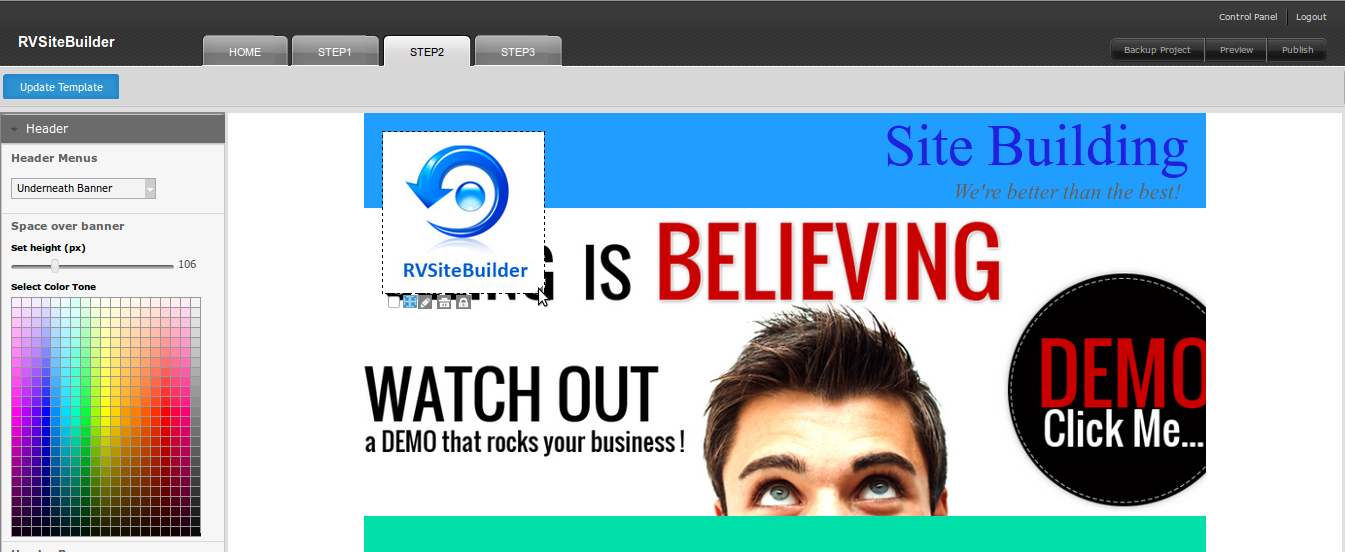
Resize and reposition your logo by drag-and-drop. Once you got the correct position, lock it by using “Lock” symbol.
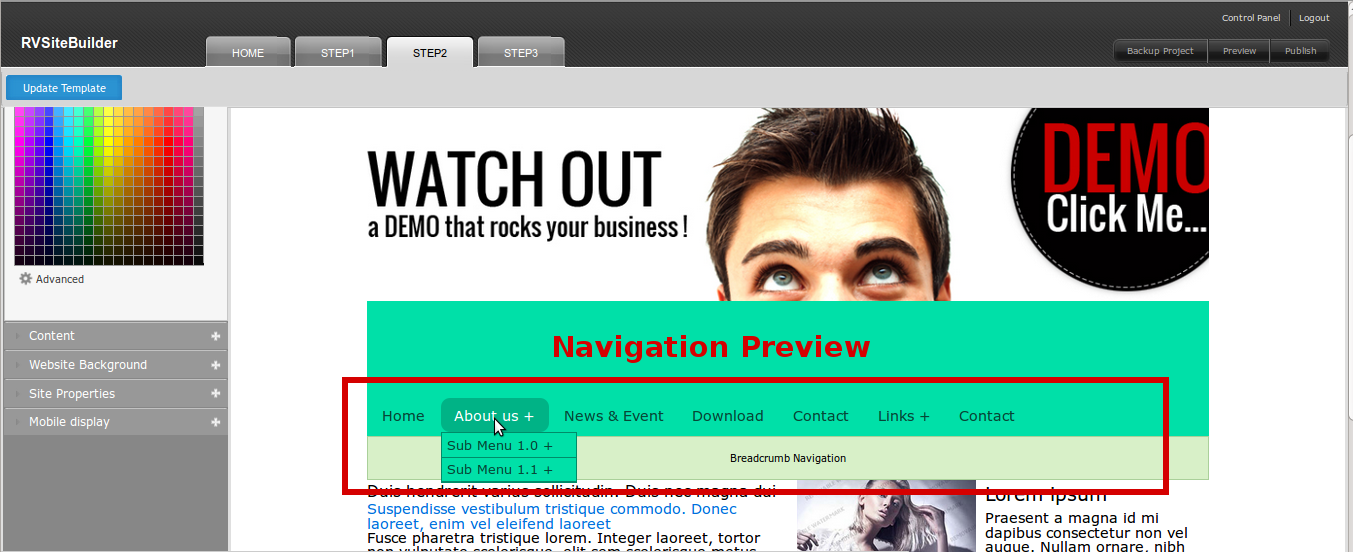
Navigation or Menu bar settings
At menu “Navigation”, click at “Navigation Style” drop-down list which contains up to 20 navigation styles to select.
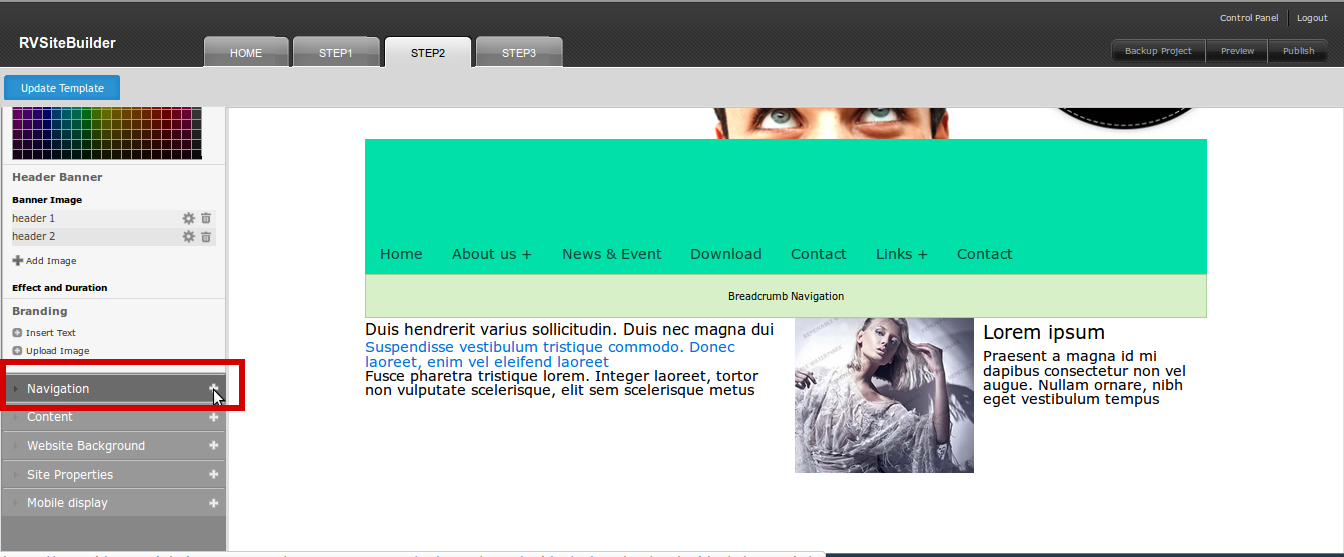
You can preview the Navigation style at the preview area in Step 2 while choosing it. (Hover the menu with “+” to see submenu appearance)
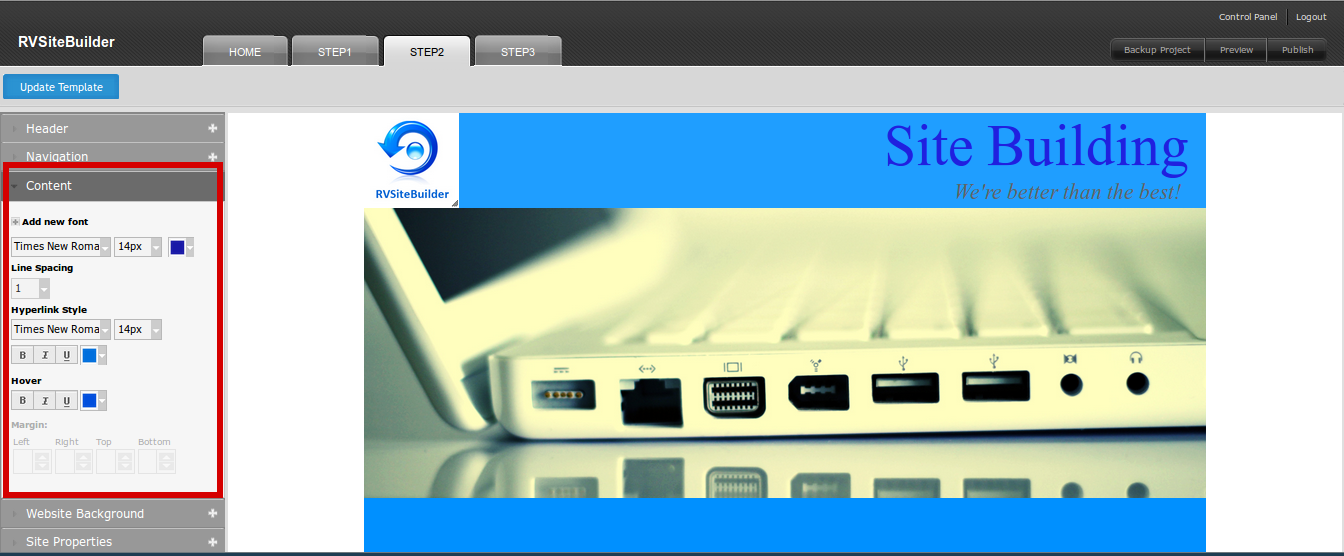
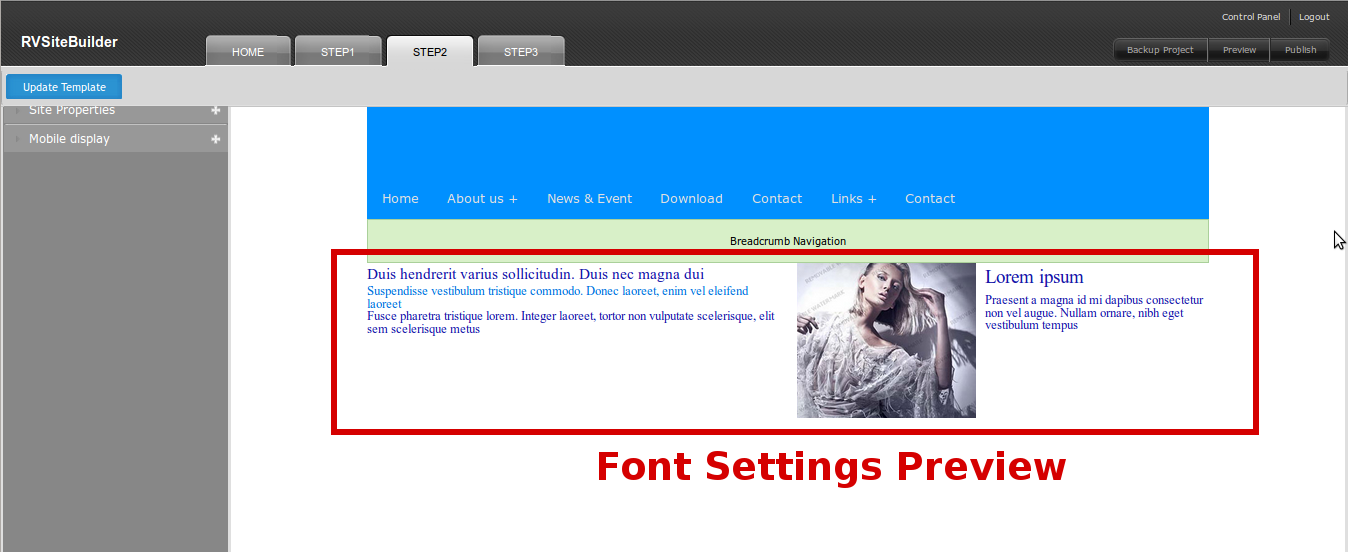
Font settings for content area
At “Content” menu, you can set Font Style, Font Size, and Color for normal font and hyperlink.
Tip: Some browsers may use cache system which causes choosing “Font Style” and “Font Size” don’t take respond. You can get avoid this by choosing “Default” before “Font Style” and “Font Size” you really want. :p
Preview while setting.
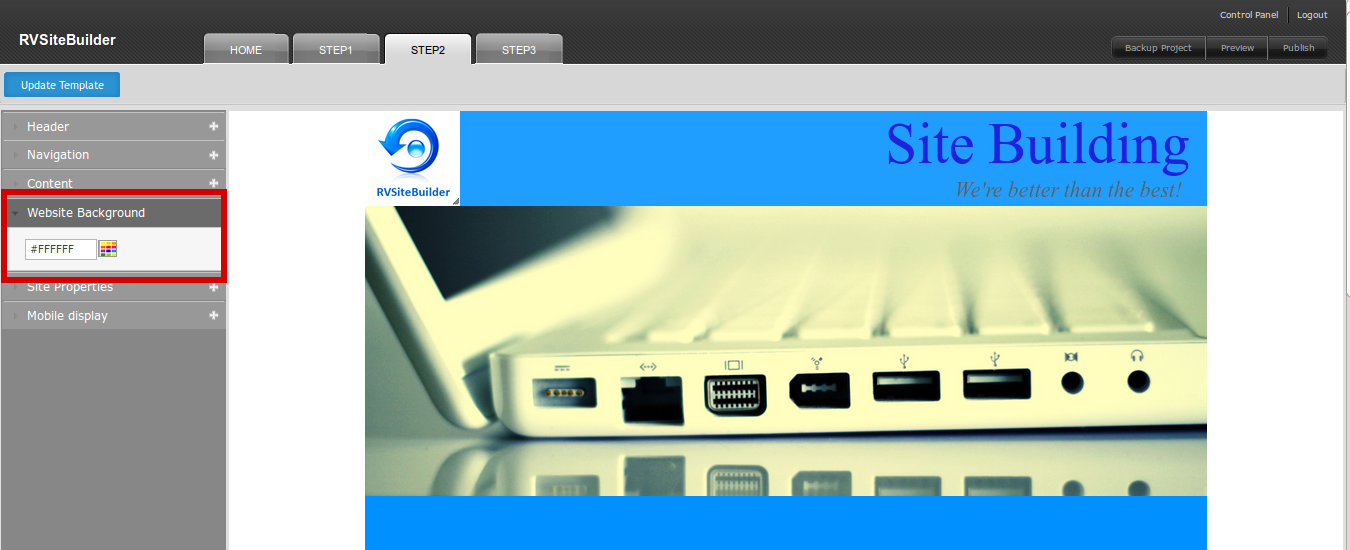
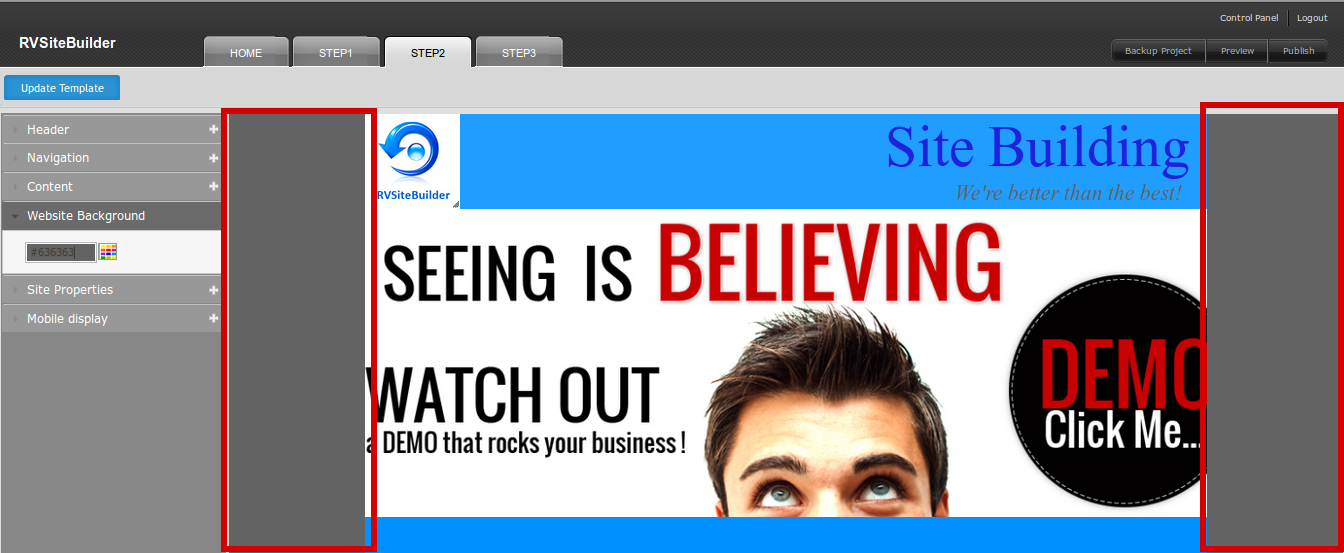
Website Background Color*
*We provide only background color settings at the current version, background image will be available in next RVSitebuilder major version release.
Just simply choosing a color, and check preview.
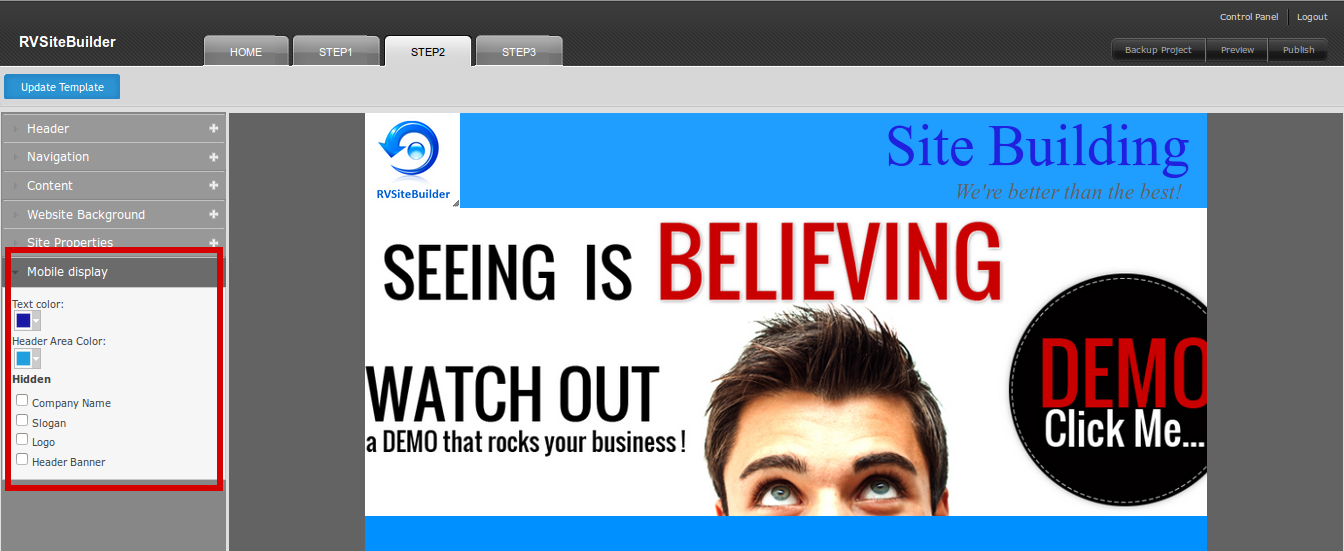
Mobile Display Enforcement
Under “Mobile Display” menu, set how text color and header color (optional) will display for your website when opening in Mobile mode.
“Hidden” menu is to let you hide and show the website header parts: Company Name, Slogan, Logo, and Header Banner to your heart’s content.
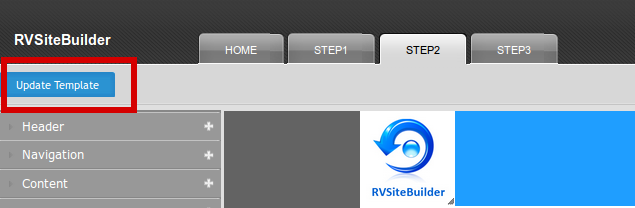
Once finished your business (design) in Step 2. Do not forget to press “Upload Template” at the left hand above toolbar, unless you want to back to do it all once again.
After you finished enjoying design your website, now you’re at the Page Editor, the real website content customization.
At Step 3 interface, you’ll see too many symbols.
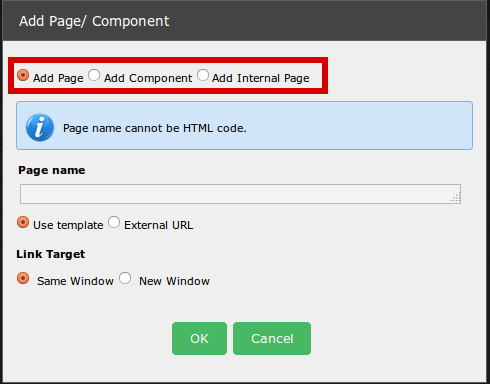
Well, start at “Add Page” at the “+” symbol.
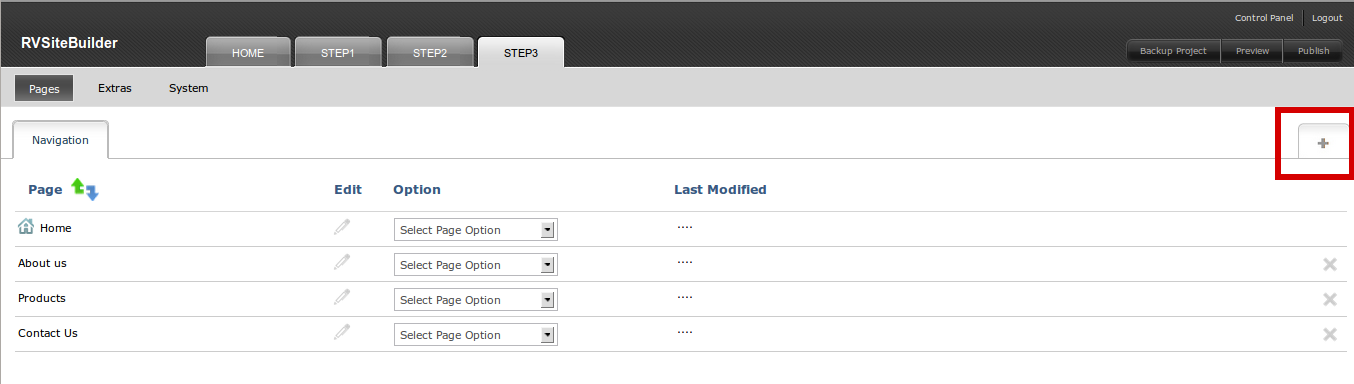
This feature allows you add Page/ Component (Blog, Photo Gallery, Guestbook, etc.) / Internal Page, choose what you want, name it, add it.
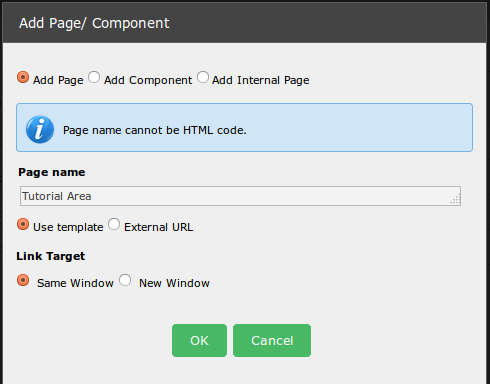
Sample of adding page name “Tutorial Area”
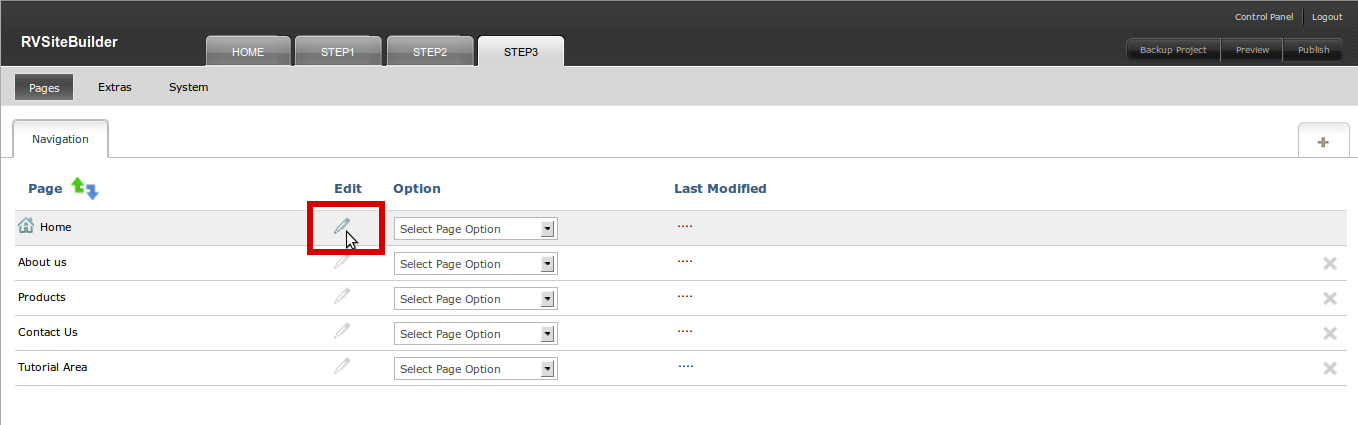
The new added page appears.
To add content to the page, just click at “Pencil” symbol to direct to WYSIWYG page editor.
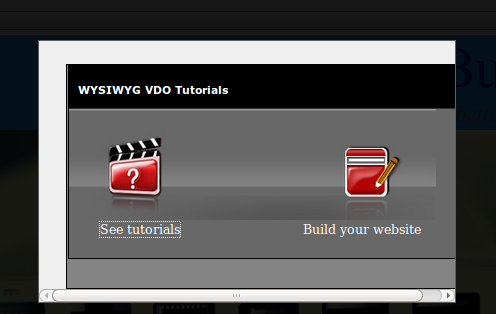
The fresh or first time in Page Editor, will be asked if you want to see tutorial first or go building your website.
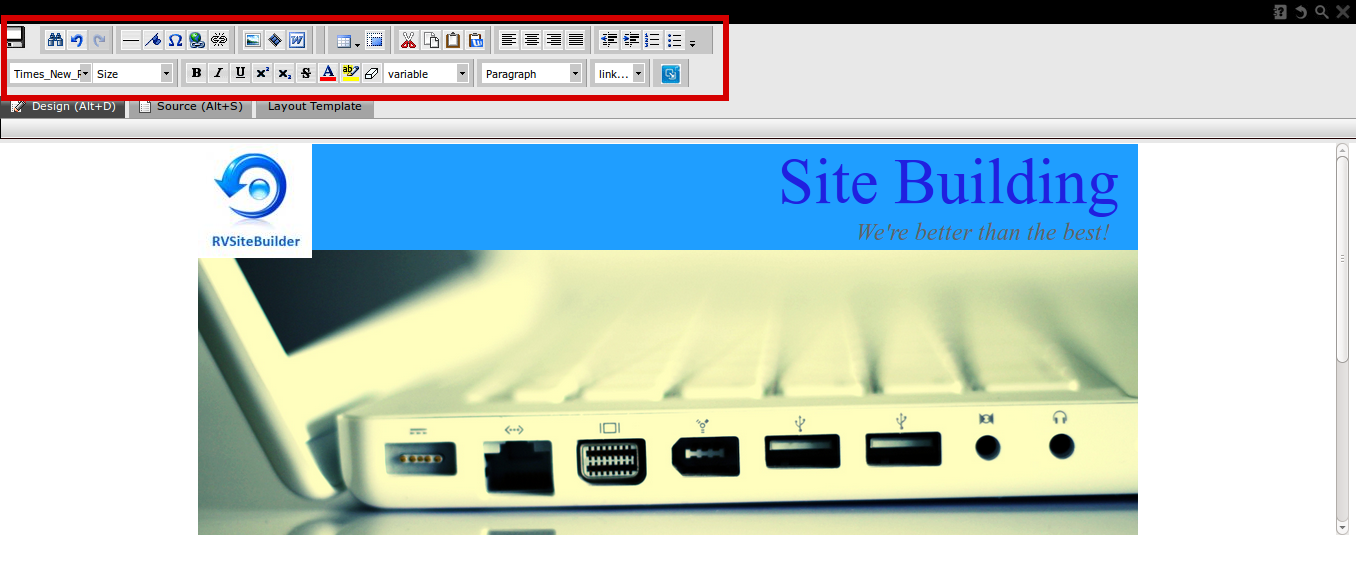
To continue building your website, it will open the editor. Much and full options of page/content management are here, you can use them all.
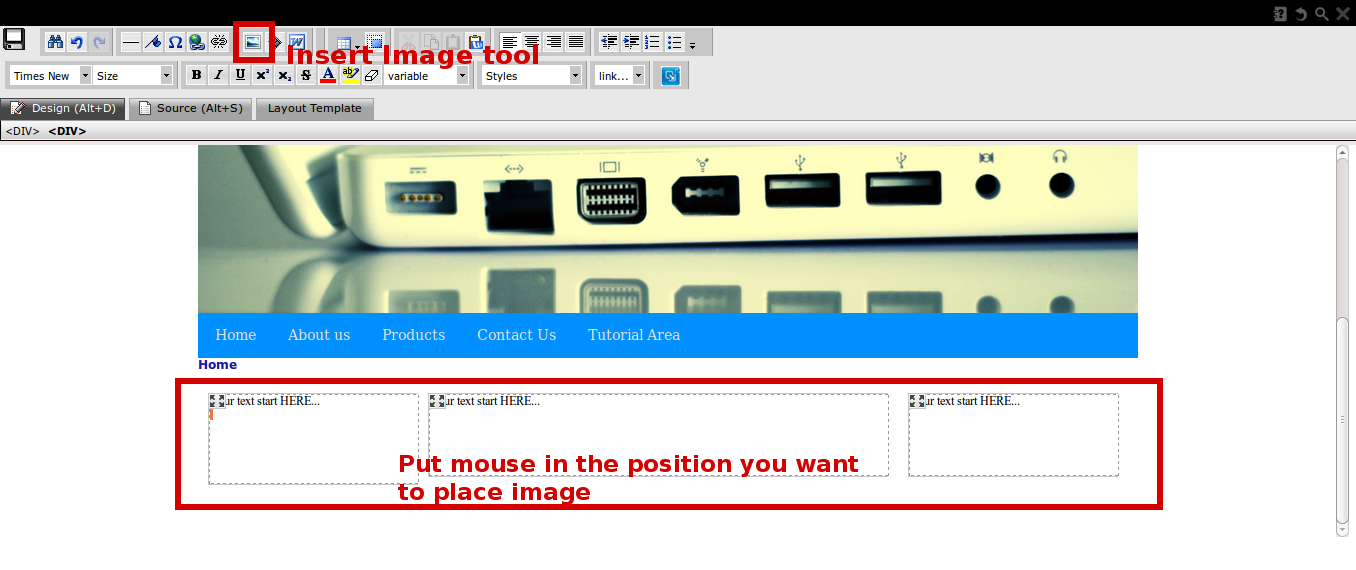
Easy sample of how to add an image
Choose position you want to place the image (put mouse in page layout), then click at “Insert/Edit Image” at toolbar.
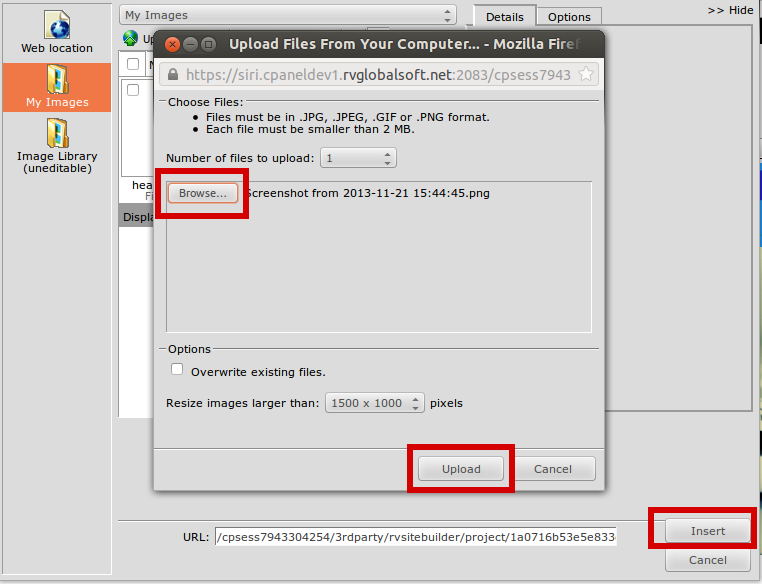
The upload window will appear.
In case (this sample case) you want to upload your own image, see “My Images” -> Local File -> “Upload” symbol at the top toolbar.
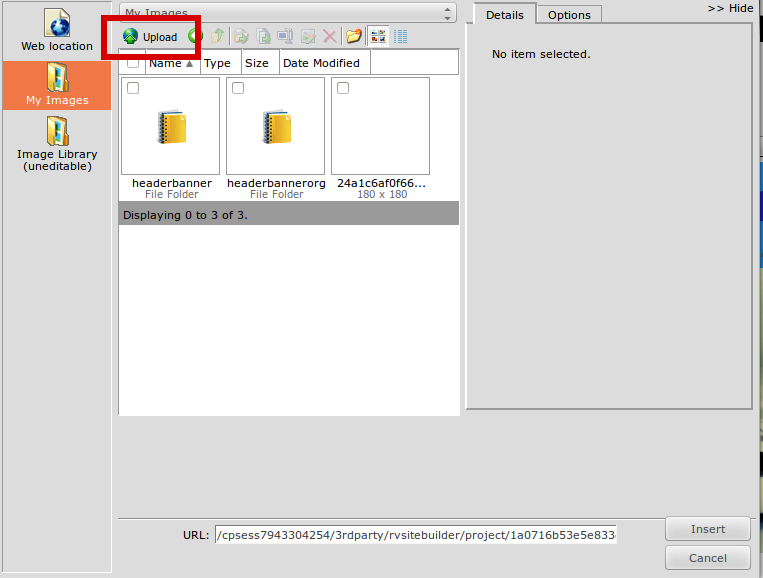
Click “Browse” to upload image, and “Insert”
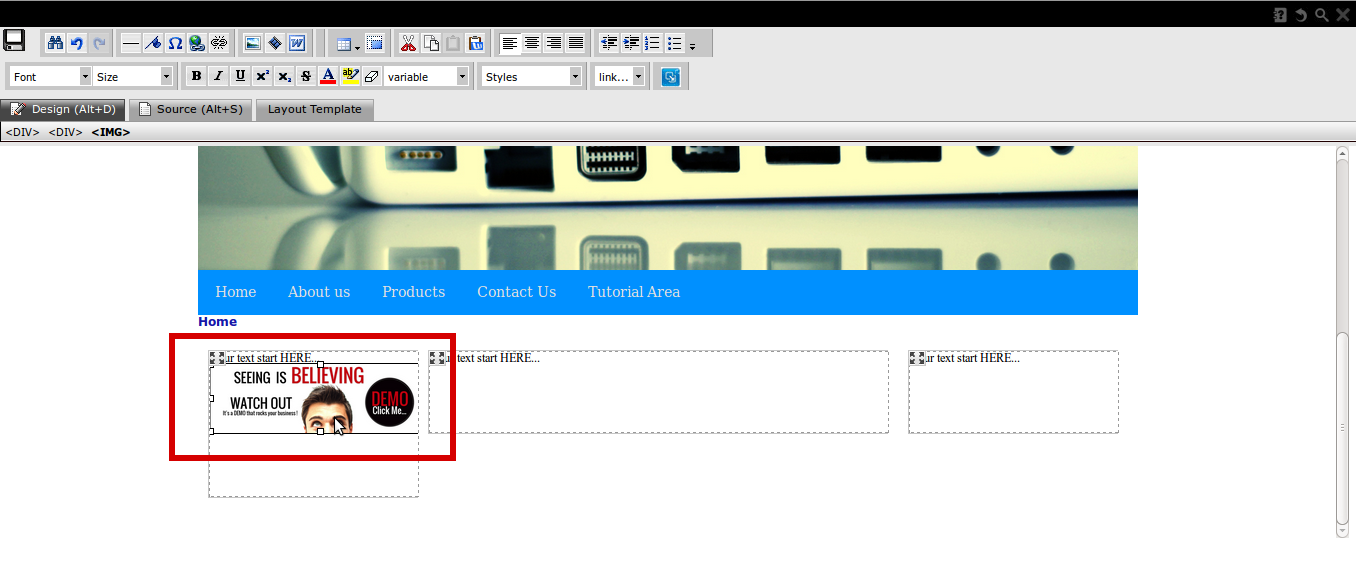
Your inserted image will appear in the position you choose from the first place.
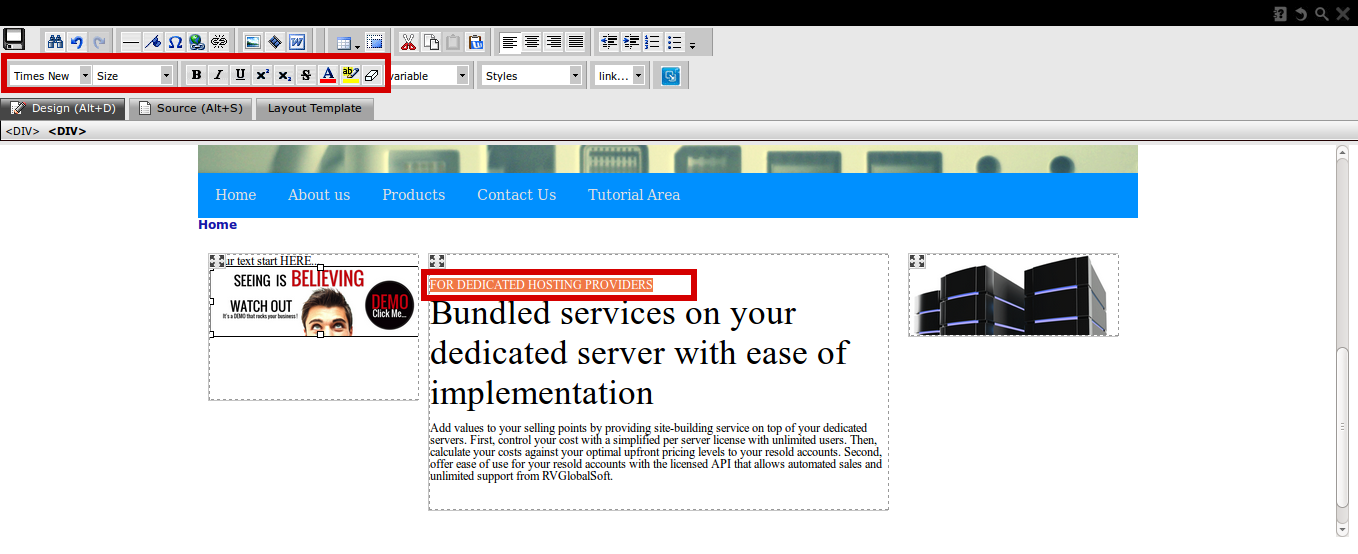
Add/Setting content
Just simply type your website content, mouseover for more font settings using the features in toolbar.
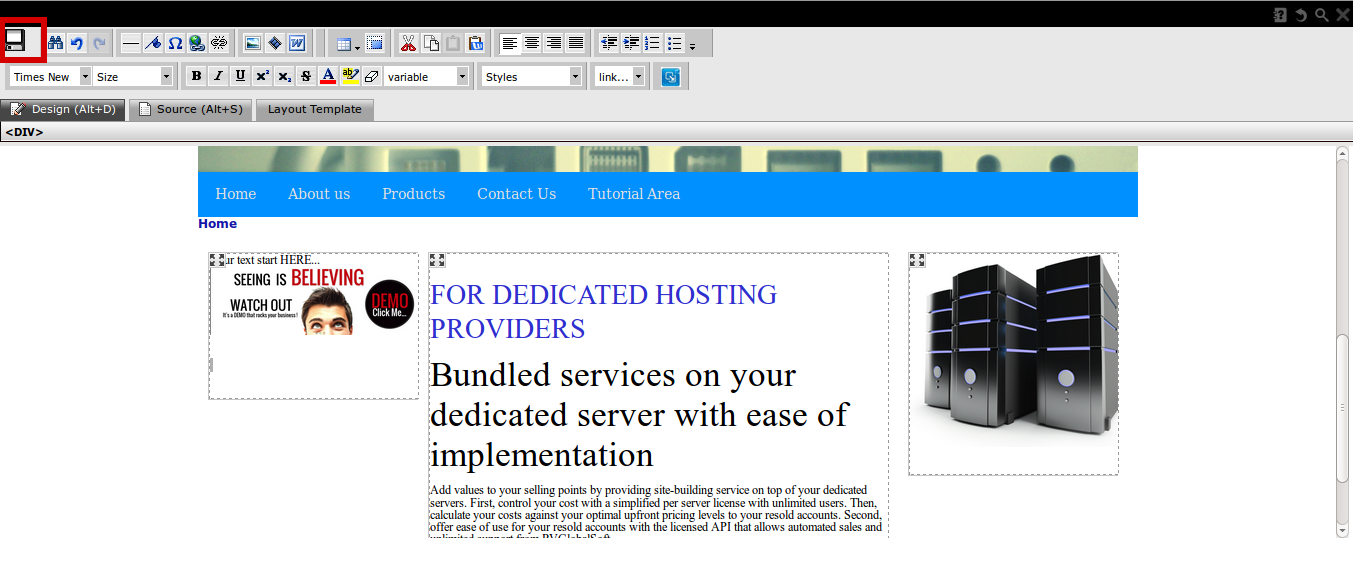
Do not forget to “Save” what you did at the “Save” symbol.
Preview and Publish your website!
The most exciting step!
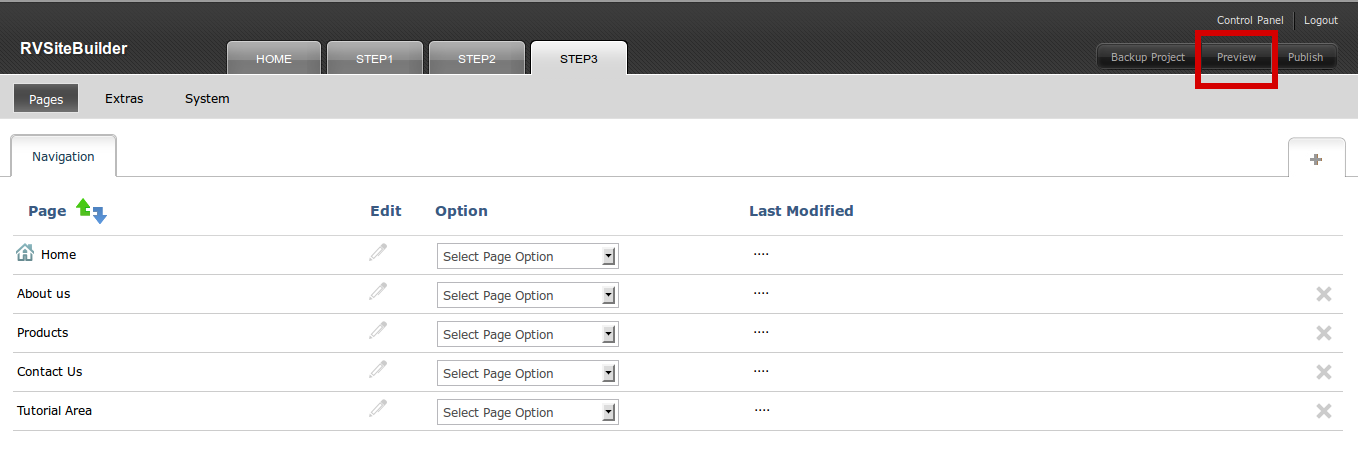
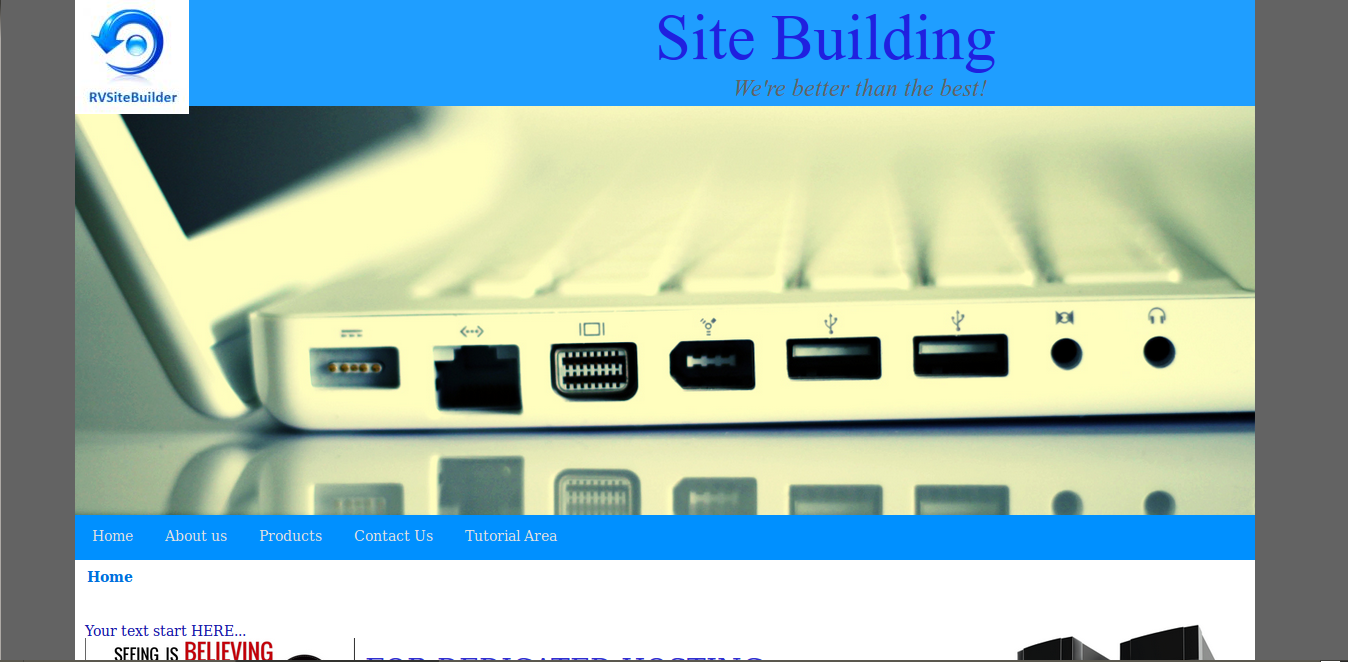
Click “Preview” to see how your website will be.
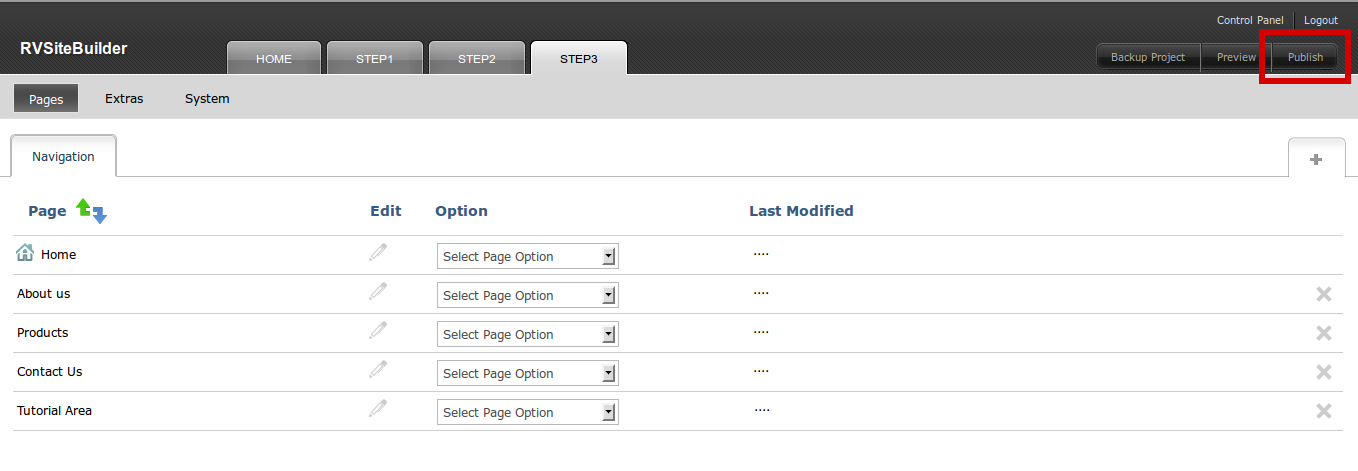
Click “Publish” to get your own website online to the world!
Publish window to let you choose your domain name for your website.
You can even choose http:// or https://, and with or without www in drop-down menu.
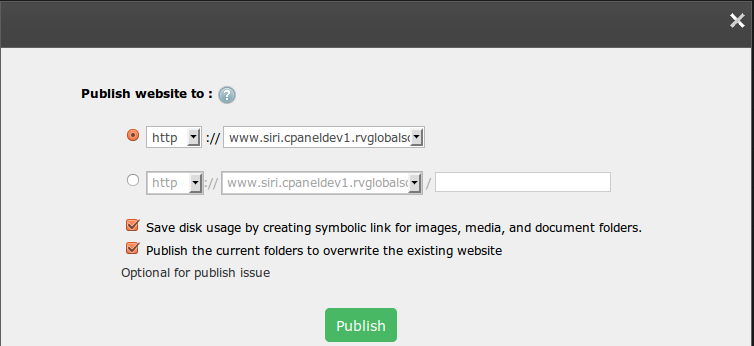
Or publish with submenu as below sample (yourdomainname.com/subdomain)
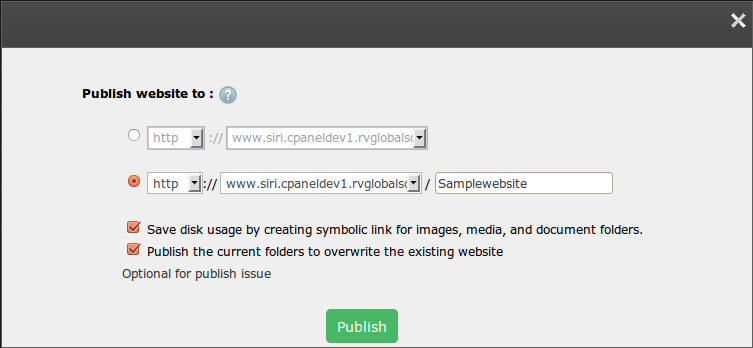
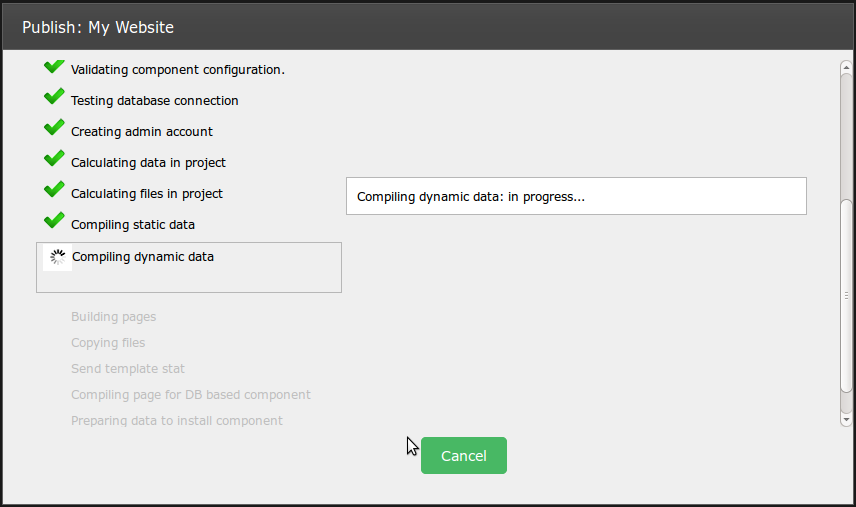
Press “Publish” and wait …..
The look of publish process window …